Edit the categories
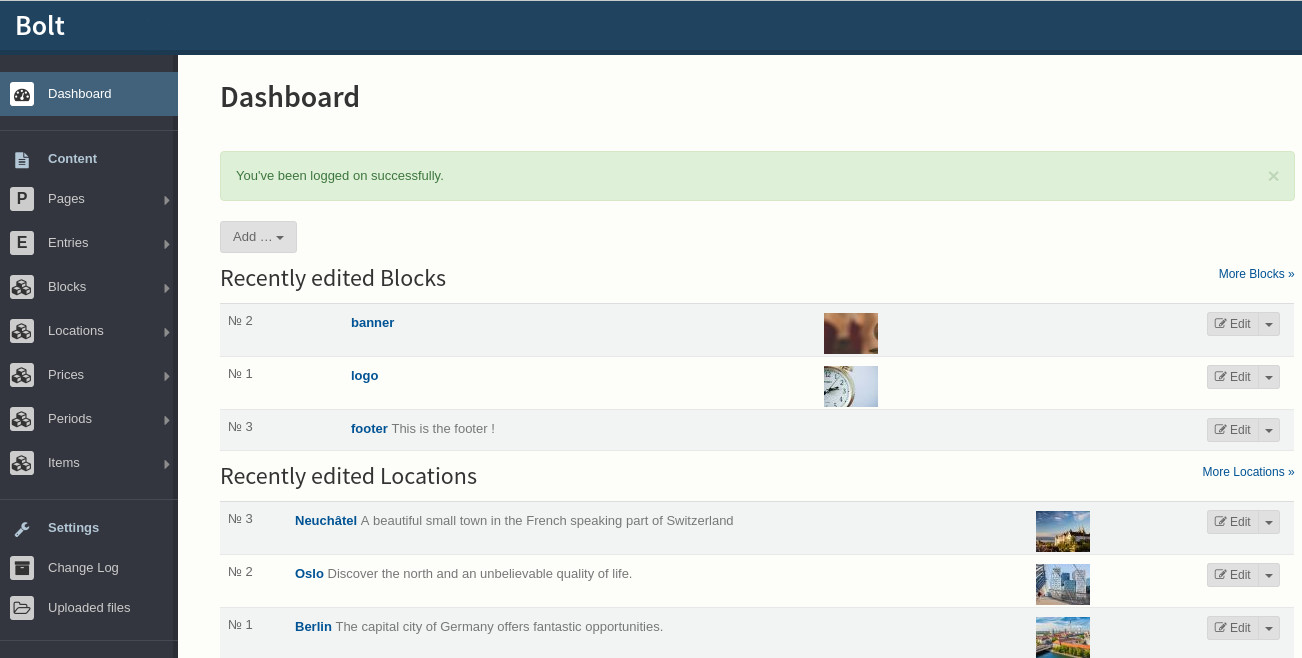
Login and go to the dashboard of your website. The dashboard should look like this :
On the menu on the left you can see the default categories :
- Locations
- Prices
- Periods
List the categories
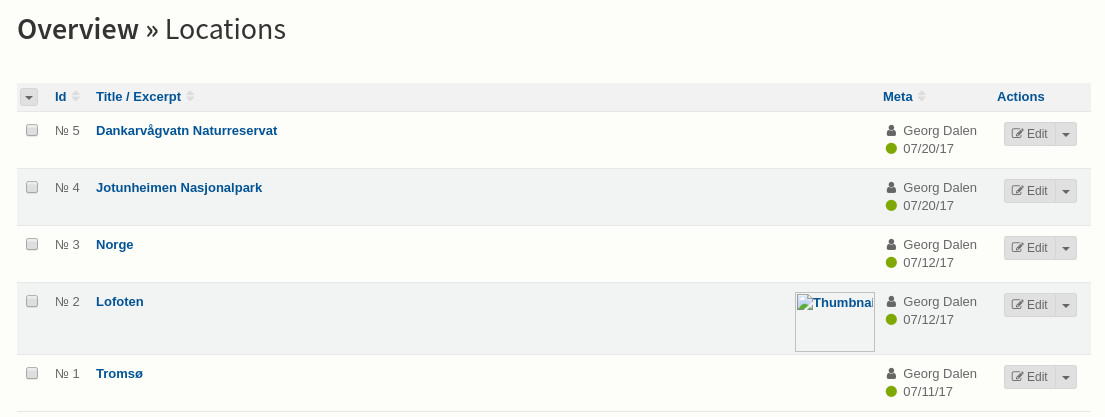
By passing over one of the categories with your mouse a submenu will appear. Click on View [Category] to see a list of the categories.
This is an example of a list of locations :
Add a category
Check the previous section to view a list of categories of your choice. Then click on the “New [category]” button on the right.
You will reach a page similar to this illustration :
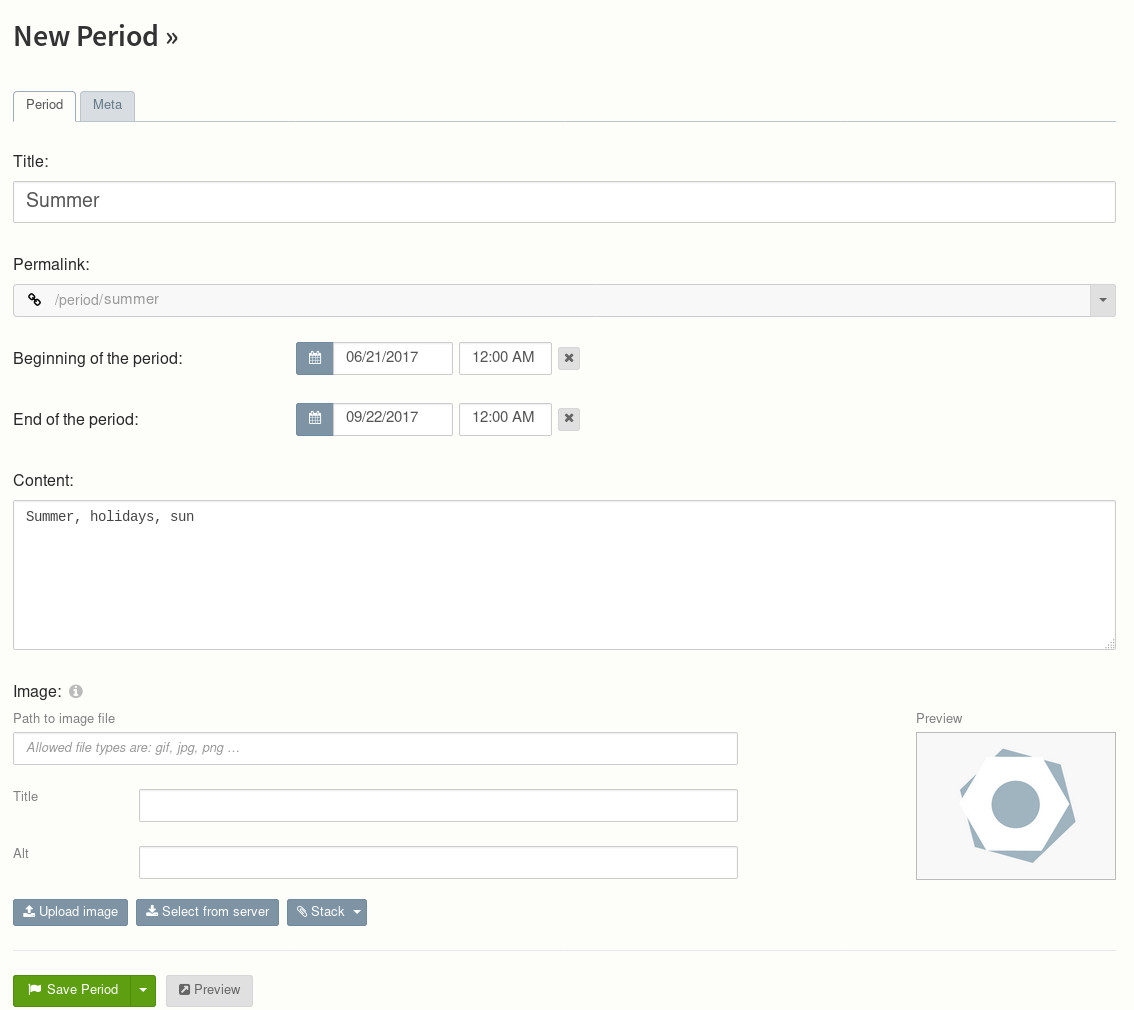
The form will vary according to the kind of categories.
First tab
The first tab allows you to edit the category itself.
The common fields are :
- The title, to set the title of the category
- The permalink, it is based on the title to provide a unique url to access the imtes belonging to that category. We do not recommand to change it.
- Content, a summary of the category, it should not be longer than 140 characters
- Image, an illusatration 400x300 pixels. The website might not work or look nice if you don’t provide an picture with the correct size.
Relationships
A list of items belonging to that category. To set a relationship go to the relationship tab of the item of your choice. For more info, check the article Edit an item.
Meta
Set some extra info about your item such as :
- the state (draft, unpublished, published, ...),
- when you want it to be published and then unpublished.
- the author